
How Can You Repair a Tear in a Leather Couch?
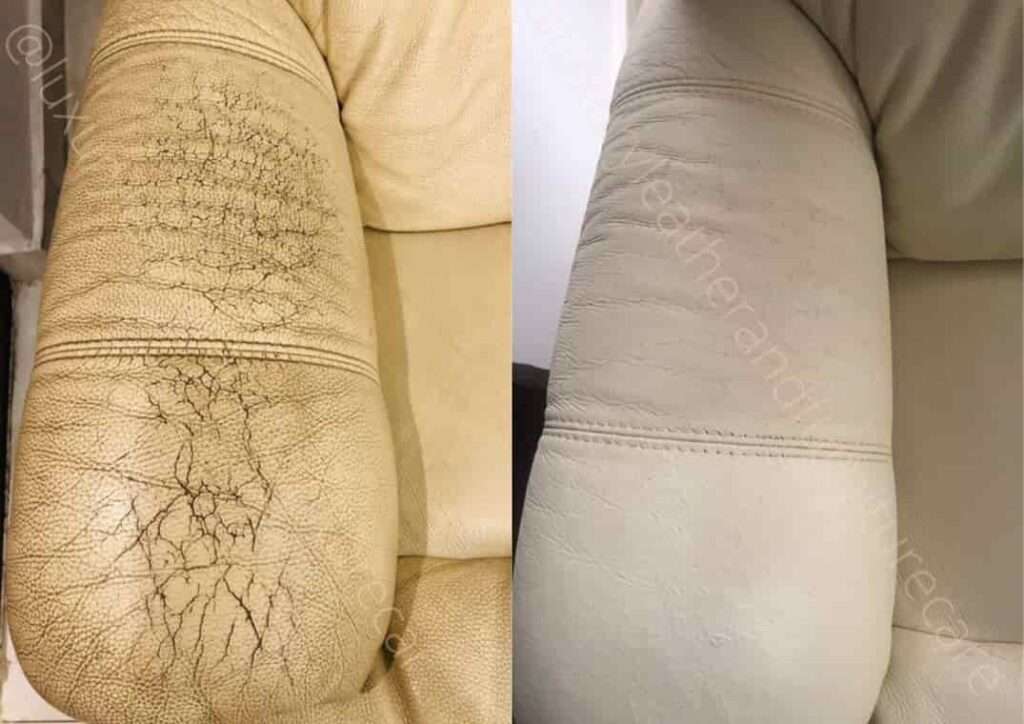
A luxurious leather sofa is both a style statement and a significant investment. However, the mention of a tear or damage can make you sad, leading to the belief that fixing such an expensive piece will be impossible. Luckily, this is far from true. With some basic sewing knowledge and a few materials, you can repair a tear in a leather couch. Turning what appears like an irreparable tear into a perfect repair goes beyond saving your seat; it’s about conserving the charm as well as the price of a central thing in your living room. Don’t let any fear about the pieces made of leather put you off enjoying the comfort quotient along with the attractiveness that comes with owning them. Applying the right method will make sure that, after repair, your leather furniture becomes stronger and brighter than before.
List of products required to repair leather couch
- A cotton cloth
- Scissors
- Leather cleaner
- Leather conditioner
- Protective gloves
- Heavy filler
- Sandpaper
- Preparation pad for leather
- Leather glue
- Colourant
Steps to repair a tear in leather couch
Repairing a tear in the leather sofa or any repair to leather furniture has the same steps that need to be followed. Here are those steps:
Step 1:
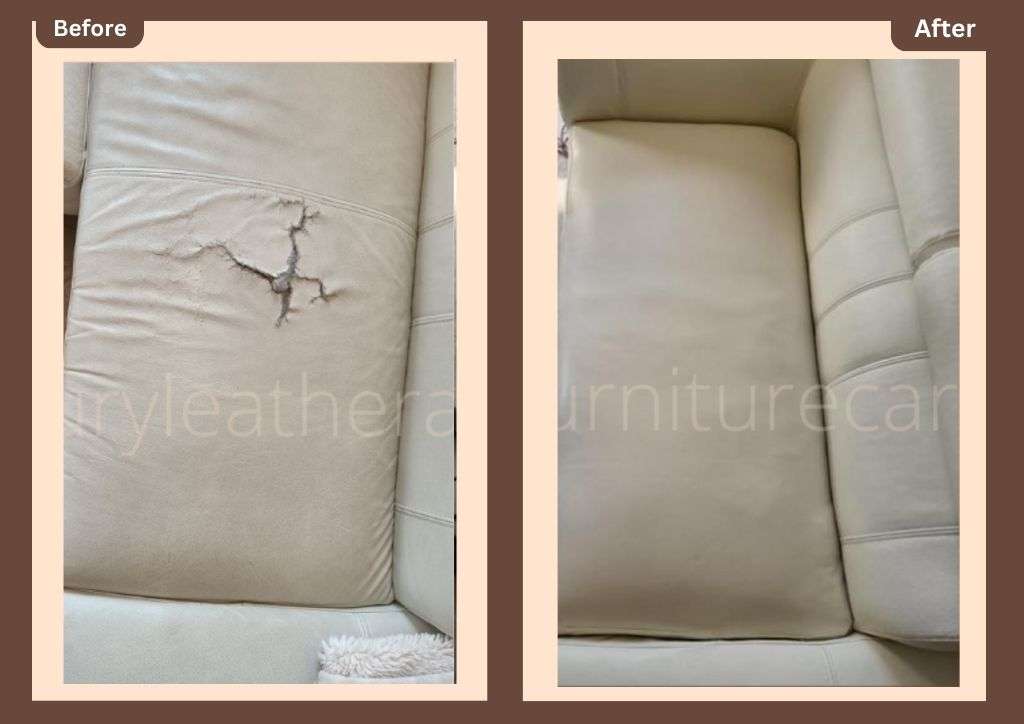
Start by inspecting the tear, looking out for any flaws. At this point, you should also clean the leather surface and allow it to dry. Carefully take note of the color of the leather and try obtaining color compounds that match it. Remove the worn edges or trim the tear. This also applies to frayed or thin layers of leather. Tidy up the leather before repairing it to reduce the risk of future tears. For smaller tears, you can stick the torn piece back in place and use a leather filler cream to smooth it out. If not, patching is required.
Step 2:
Take a piece of fabric larger than the tear you need to repair. If you know how to measure, do it, and then cut the fabric accordingly. The material should be 2.5cm bigger than the tear all around it. Make the patch bigger by an inch or so that its edges can be glued into the fabric around the opening.
Step 3:
The next stage involves placing a fabric, depending on the size and scale of what you are repairing. You can put this material in place if you can access it underneath the leather. Flip the item, apply a fully closed tear appropriately, and stick it onto a small amount of glue leather material. If your item is small or lightweight, you should be able to slide in between with tweezers and a leather patch under the cloth layer. Concentrate on one side at a time when sewing up tears; slide through another side once you are sure about where the other side is going to stop; and, when certain that it has been covered, close the tear with smooth material.
Step 4:
It is simple to apply glue when fixing a tear in leather by putting some material under it. Conversely, if you slide the fabric into position after separating it, the job becomes slightly more difficult, but it is still quite manageable. Raise one side of the tear to create a space between it and the patch. Take an insignificant piece of hide glue with a small knife. Using this knife, smear some amount of glue between the bottom part and surrounding leather, plus all edges. You should press down on each topmost layer to ensure it sticks properly and gives enough time for the materials to bond together.
Step 5:
With the fabric in position, you should fill the leather’s seam, then apply a thick filler with a clean knife. Do not worry now about the colour of the filler against the finish of the leather; any problems can be solved by using a leather colourant.
Step 6:
Apply a thin layer of filler to the leather at a 45-degree angle using a palette knife or sharp edge. If the excess is applied, remove it by touching a paper towel on it. The filler will take considerable time to dry, so give adequate time for that, preferably 24 hours. When dried, check the crack again, and if necessary, add more filler. Most people smooth out this point by sanding down the filler to create an even smoother finish.
Step 7:
Though the tear is covered, it may require some improvement. It would be wise to color the filler to make the tear as unnoticeable as possible. If you have a dye or leather colourant that matches your leather, you should use it directly. If there is no immediate match, then blending shades will do to achieve the desired color. Use a cotton swab to apply the mixture. To repair a tear in a leather couch, it is important to perform all the steps.
How does luxury leather and furniture care help you?
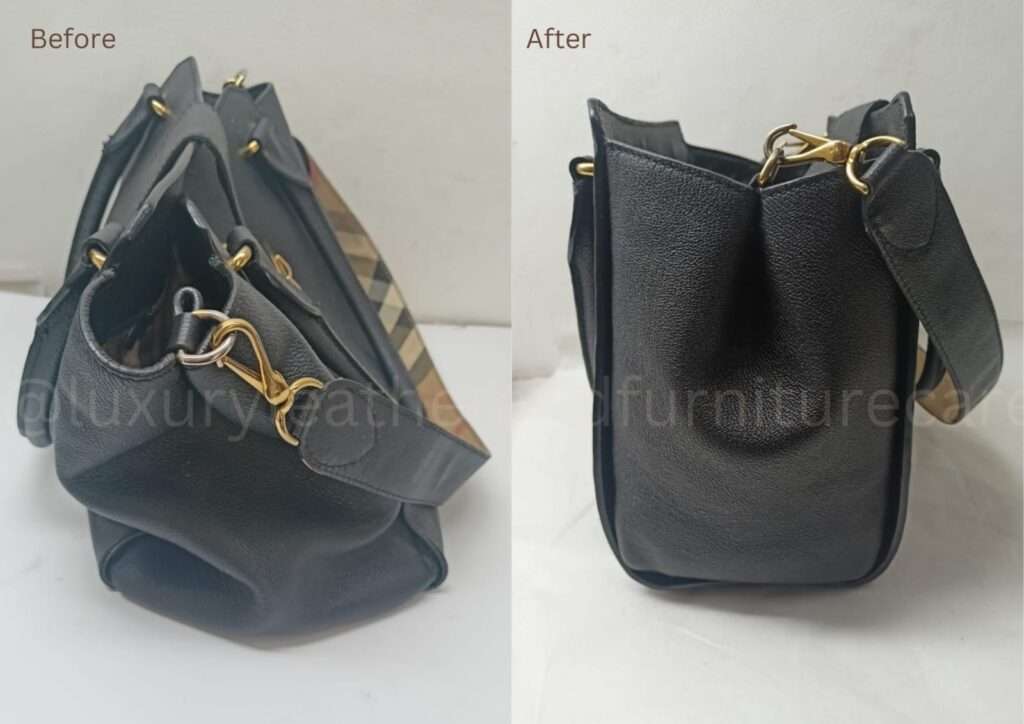
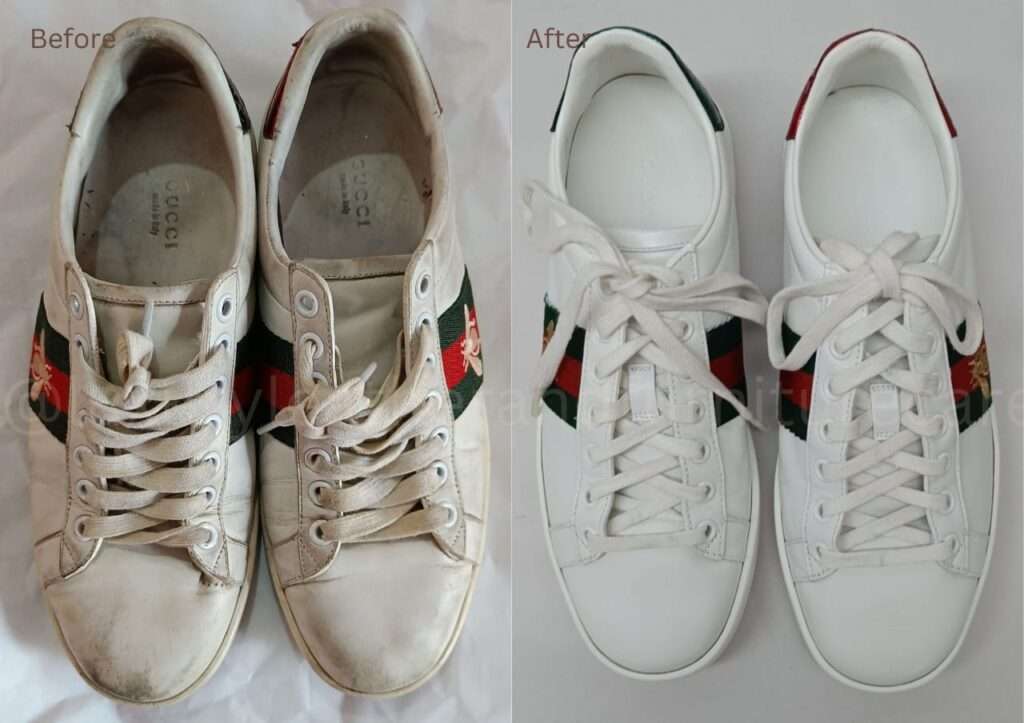
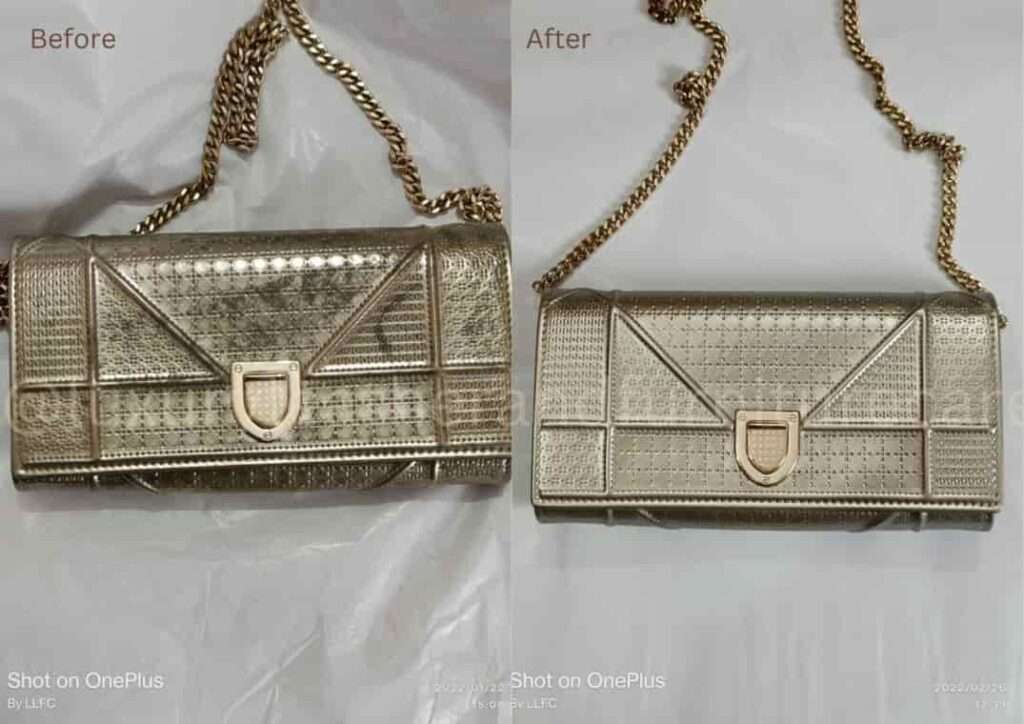
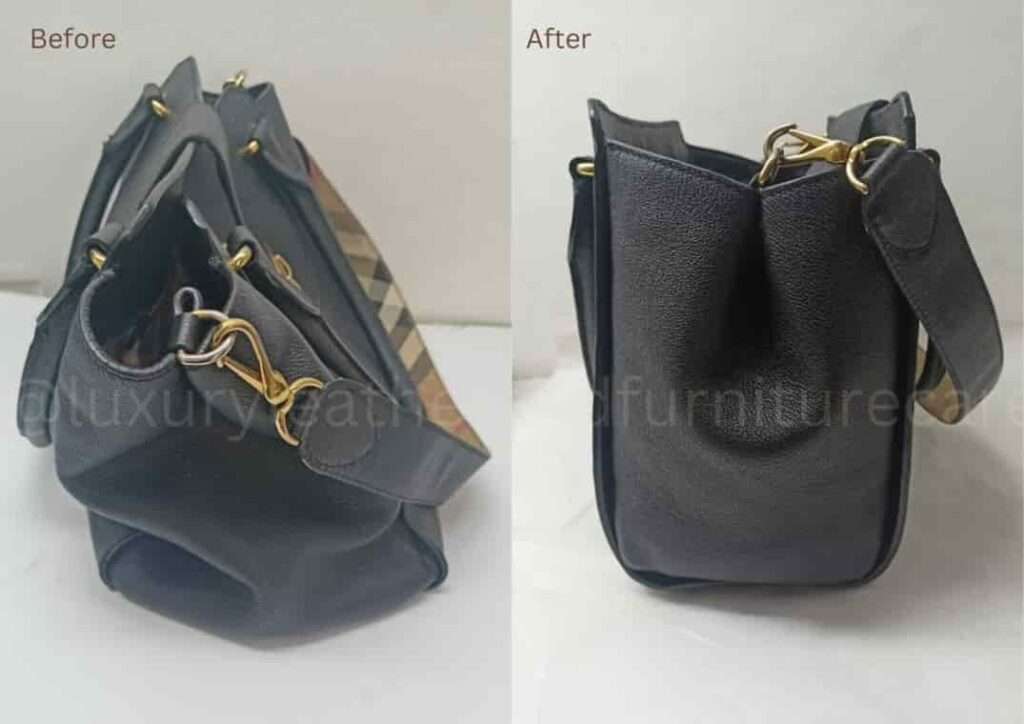
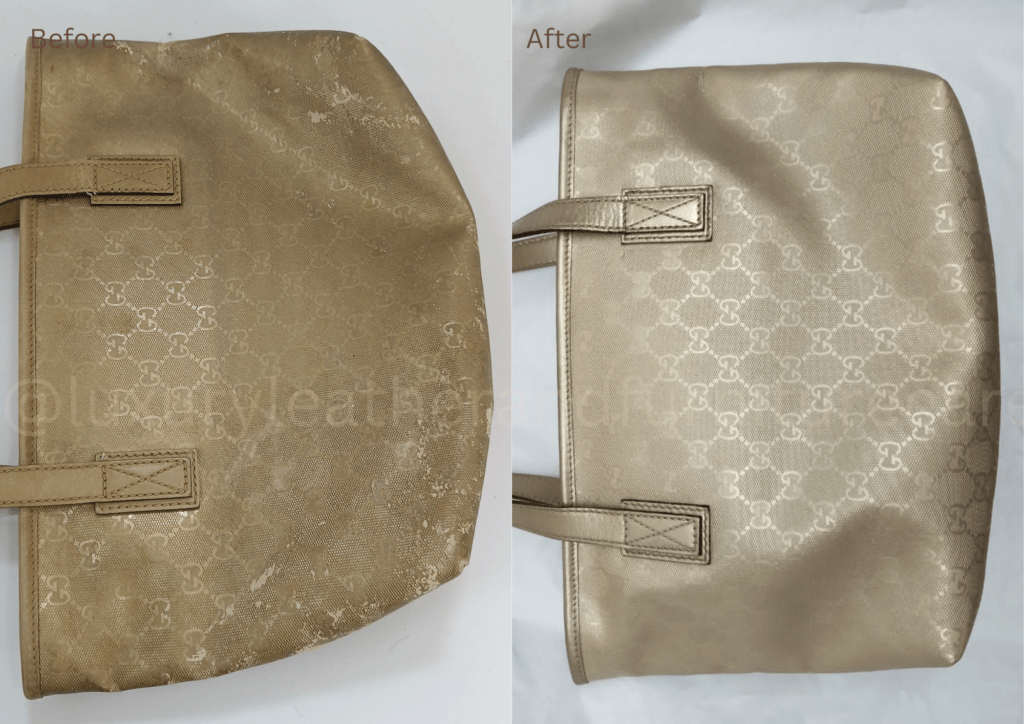
The most important thing to consider when mending a tear in a leather couch is the size and position of the tear. Do not be afraid to flip the leather couch upside down and address it from below; this can help you do the fix more easily. The price of replacing furniture such as leather sofas or leather couches is high, so it may be useful to know how to patch with sub-pieces or glue over several thin laminations. If you are still afraid that you might destroy your furniture, do seek the help of professionals. At Luxury Leather and Furniture Care, we help you restore your leather products. We also provide leather sofa cleaning services and leather sofa repair service. Contact us because we believe restoring leather is more advantageous than replacing it. Our professionals use premium products, which help repair a tear in a leather couch.
Book The Luxury Leather & Furniture Care services today for repairing/ restoring Leather Products.
Contact us today at our official website – https://luxuryleatherfurniturecare.com/
Email: info@luxuryleatherfurniturecare.com or call us at – +91 92892 38864